Knowledge Base
Categories: Social_Media
WebsiteBuilder: How to Add, Modify, or Remove Social Media Accounts
Connecting to people on different social media platforms is a very good strategy to reach out to customers and strengthen your online presence. In this article, we will guide you through the steps on how to add, modify, and remove your social media account to your website. Let's get started.
Launch WebsiteBuilder and manage your website.
- Log in to your Domains Dashboard.

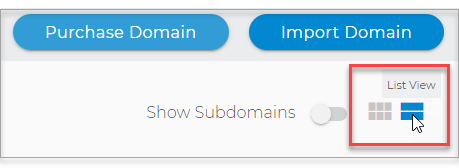
- There are two views in the Domains dashboard - the Card and List views. Click on the view icons to switch to your preferred view.
- Choose the domain where your website resides.
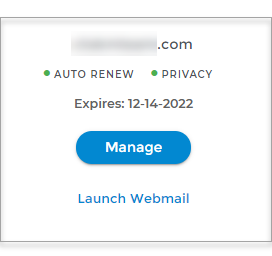
In the Card view, click the domain's Manage button.
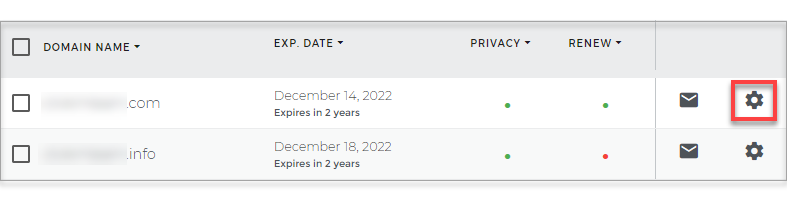
In List view, click the domain or its gear icon on the right-hand side.
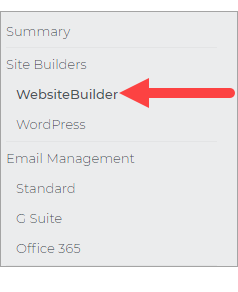
- On the Left Nav, click on WebsiteBuilder, under Site Builders.
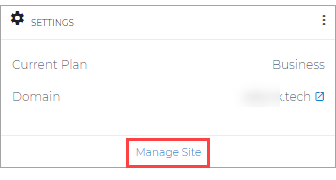
- Under Settings, click Manage Site. This action will open your WebsiteBuilder screen on a new tab.
Once WebsiteBuilder launches, you’ll now be able to manage and edit your site.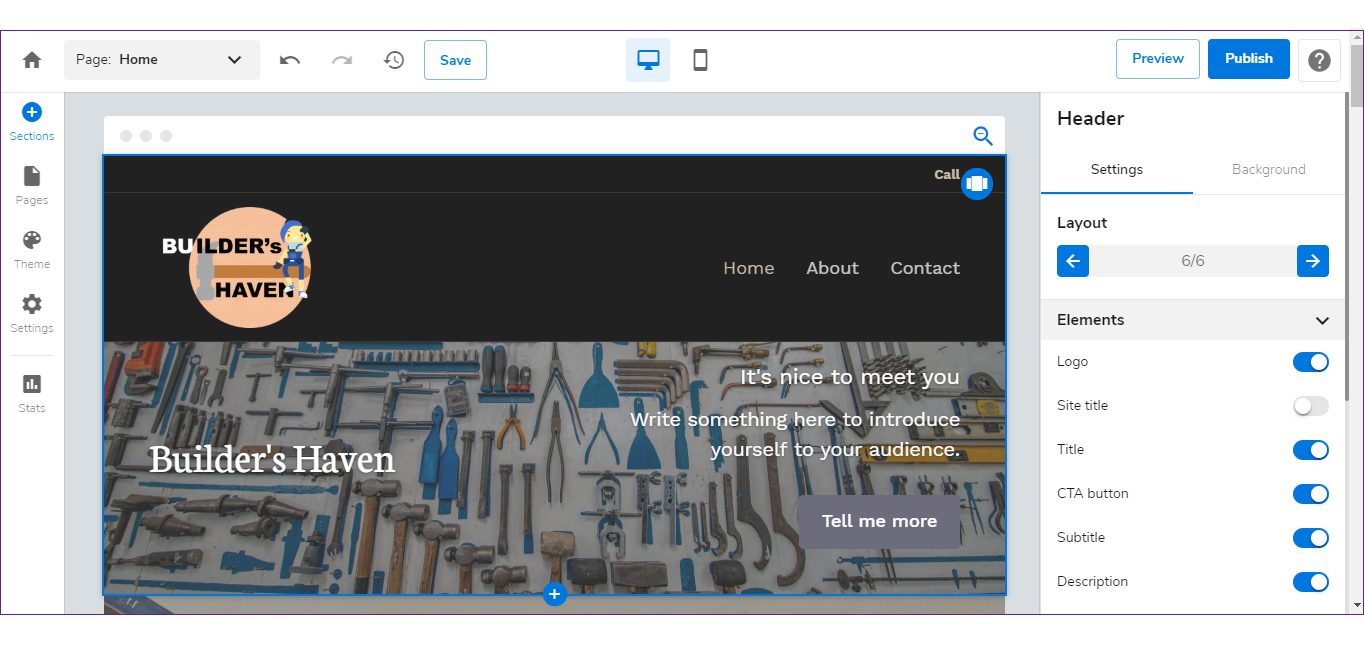
Add, modify, or remove social media account/s
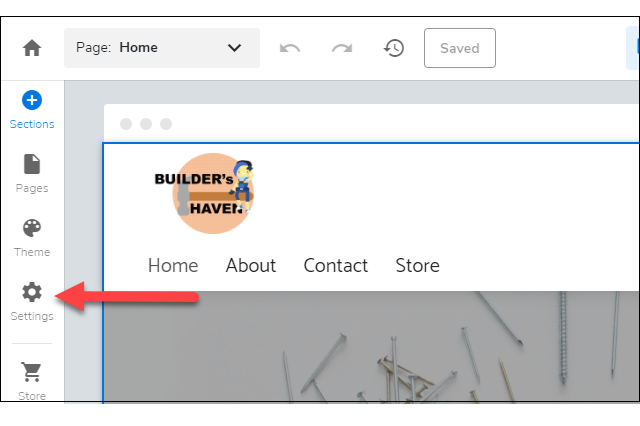
- Click Settings on the left.
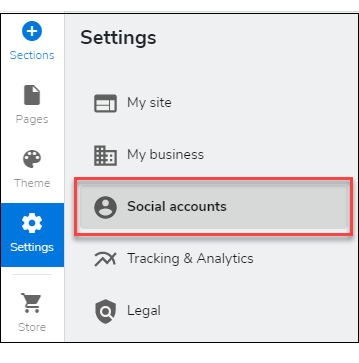
- Click Social accounts under Settings.
- Add, modify, or remove the URLs of your social accounts which will be shown in your site's footer, allowing your visitors to go directly to your social accounts.
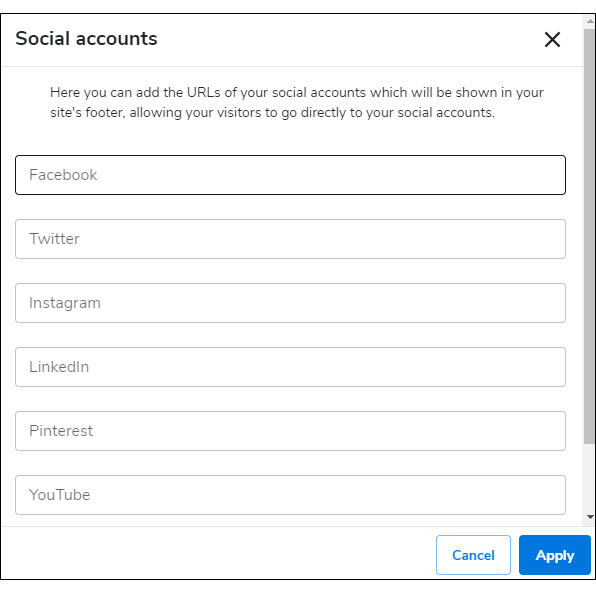
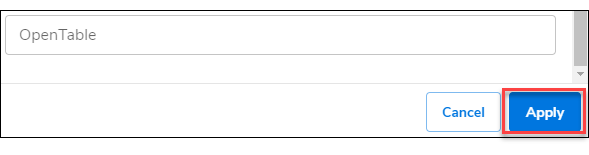
- Click the Apply button.
- When you are done, click on Save. If you want to make all changes to be updated on your live website, click Publish. Both these options are placed on top of your editor. Note: If you only save changes, it would not appear on the website unless you click Publish.
