Knowledge Base
Categories: Adding_Content
WebsiteBuilder: How to Add Photo Gallery
Photo Galleries are best used to portray products and services, explain what the business is about, and even for entertaining your site visitors. You can easily utilize this feature inside the WebsiteBuilder Editor by following the steps below.
Adding a Photo Gallery
- Log in to your Domains Dashboard.

- On the dashboard, select the domain where your WebsiteBuilder is situated.
There are two views in the Domains dashboard - the Card and List views. Click on the view icons to switch to your preferred view.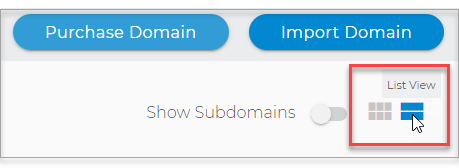
- Choose the domain you wish to modify.
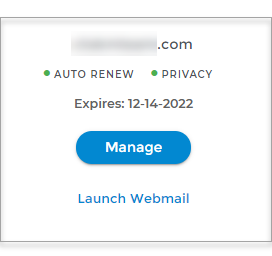
In the Card view, click the domain's Manage button.
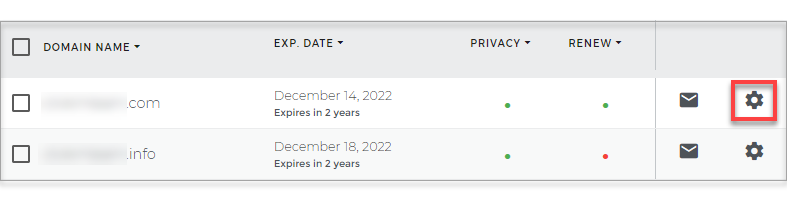
In List view, click the domain or its gear icon on the right-hand side.
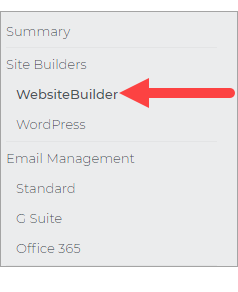
- Click on WebsiteBuilder on the left menu.
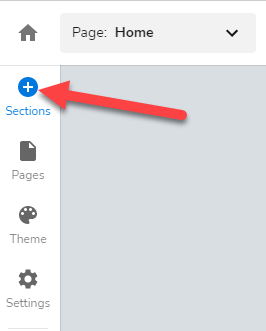
- Once inside the editor, click on Sections.
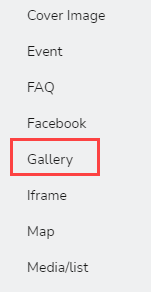
- Under All Categories, scroll down and look for Gallery.
- Select the layout of your Photo Gallery.
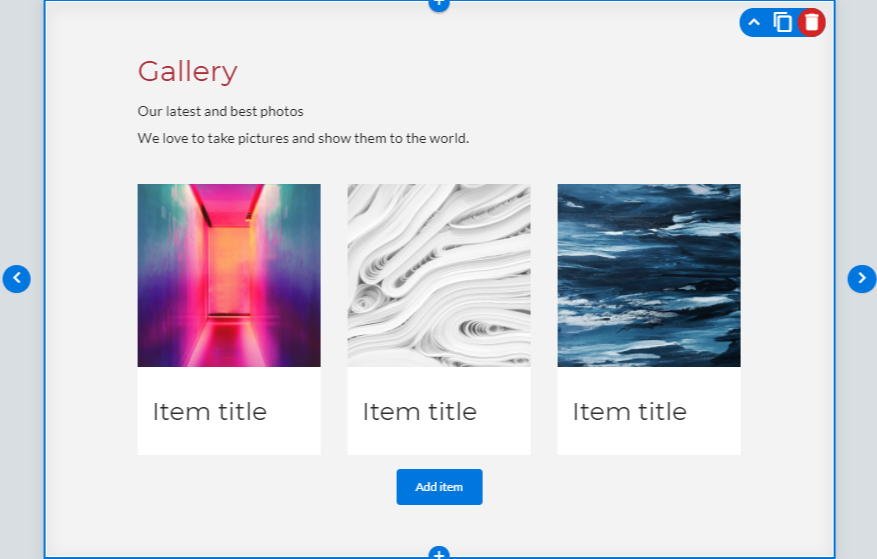
You can use the left and right arrows to toggle from different Photo Gallery layouts.
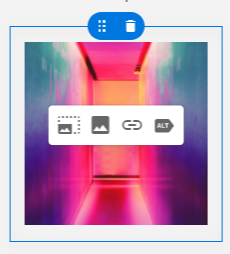
- After finalizing the layout, it would be the best time to update the images. You can crop, change the image, add a link, and edit alt text.
-
Once editing is done, click on Save. If you want to make all changes to be updated on your live website, click Publish. Both these options are placed on top of your editor. Note: if you only save changes, it would not appear on the website unless you click Publish.
